EVEPLUS USER GUIDE
1. Registration
Once you’ve subscribed head over to https://suite.evevideo.com and select Register and enter your email and desired password. Upon validation of your subscription you will receive an email inviting you to Log In.
2. Log In
Once you’re registration is confirmed use your username and password to Log In.
3. User Interface
Once you log in you will be presented with a list of your video calls with the ability to amend the title, add a claim code (or equivalent) make unlimited notes, play the video and copy the link to share the video. You also can logout and start a call.
4. Choose call method interface
Clicking on start a call presents you with a interface that lets you select the method you want to use to initiate the video call. You can choose SMS, Whatsapp or Email. If you want to use another messaging system you have the option to copy the call link below.
5. Initiate call
Select the correct country code using the country selector and then add the mobile phone number (minus any spaces and minus country code). Type in the personalised message if you wish or leave empty. Then press Send SMS.
6. Choose which camera to start the call with
You can choose to start the call with the front facing or rear facing camera. This is just the starting camera choice. You can choose to change the camera within the call as many times as you like.
7. Give permission
Enable permission for Evevideo to access your microphone and your camera.
8. Wait for the other party to join
Your video feed will be displayed in the top left hand corner of the screen while you wait.
9. Recipient receives your message
The person you sent the message to receives it, can read the personalised message and is invited to click on the link.
10. Camera and microphone permissions request
Recipient is made aware that evevideo requires the use of the camera and microphone. This is only requested the first time the recipient receives a message from Evevideo.
11. Allow camera and microphone permissions
Recipient is explicitly asked to give permission to use camera and microphone. Recipient must agree to to these permissions to be able to use the system. Future messages will not require permssions.
12. Location permission request
Recipient is made aware that evevideo wants to use the recipients device location. Again this is only requested the first time the recipient received a message from Evevideo.
13. Allow location permission
Recipient is explicitly asked to give permission to access location. Recipient can deny the use of the location and still use the system however location information will be missing. Future messages will not require this permssion if granted.
14. Recipient joins the call
Recipient is invited to join the call and is reminded that the video call will be recorded.
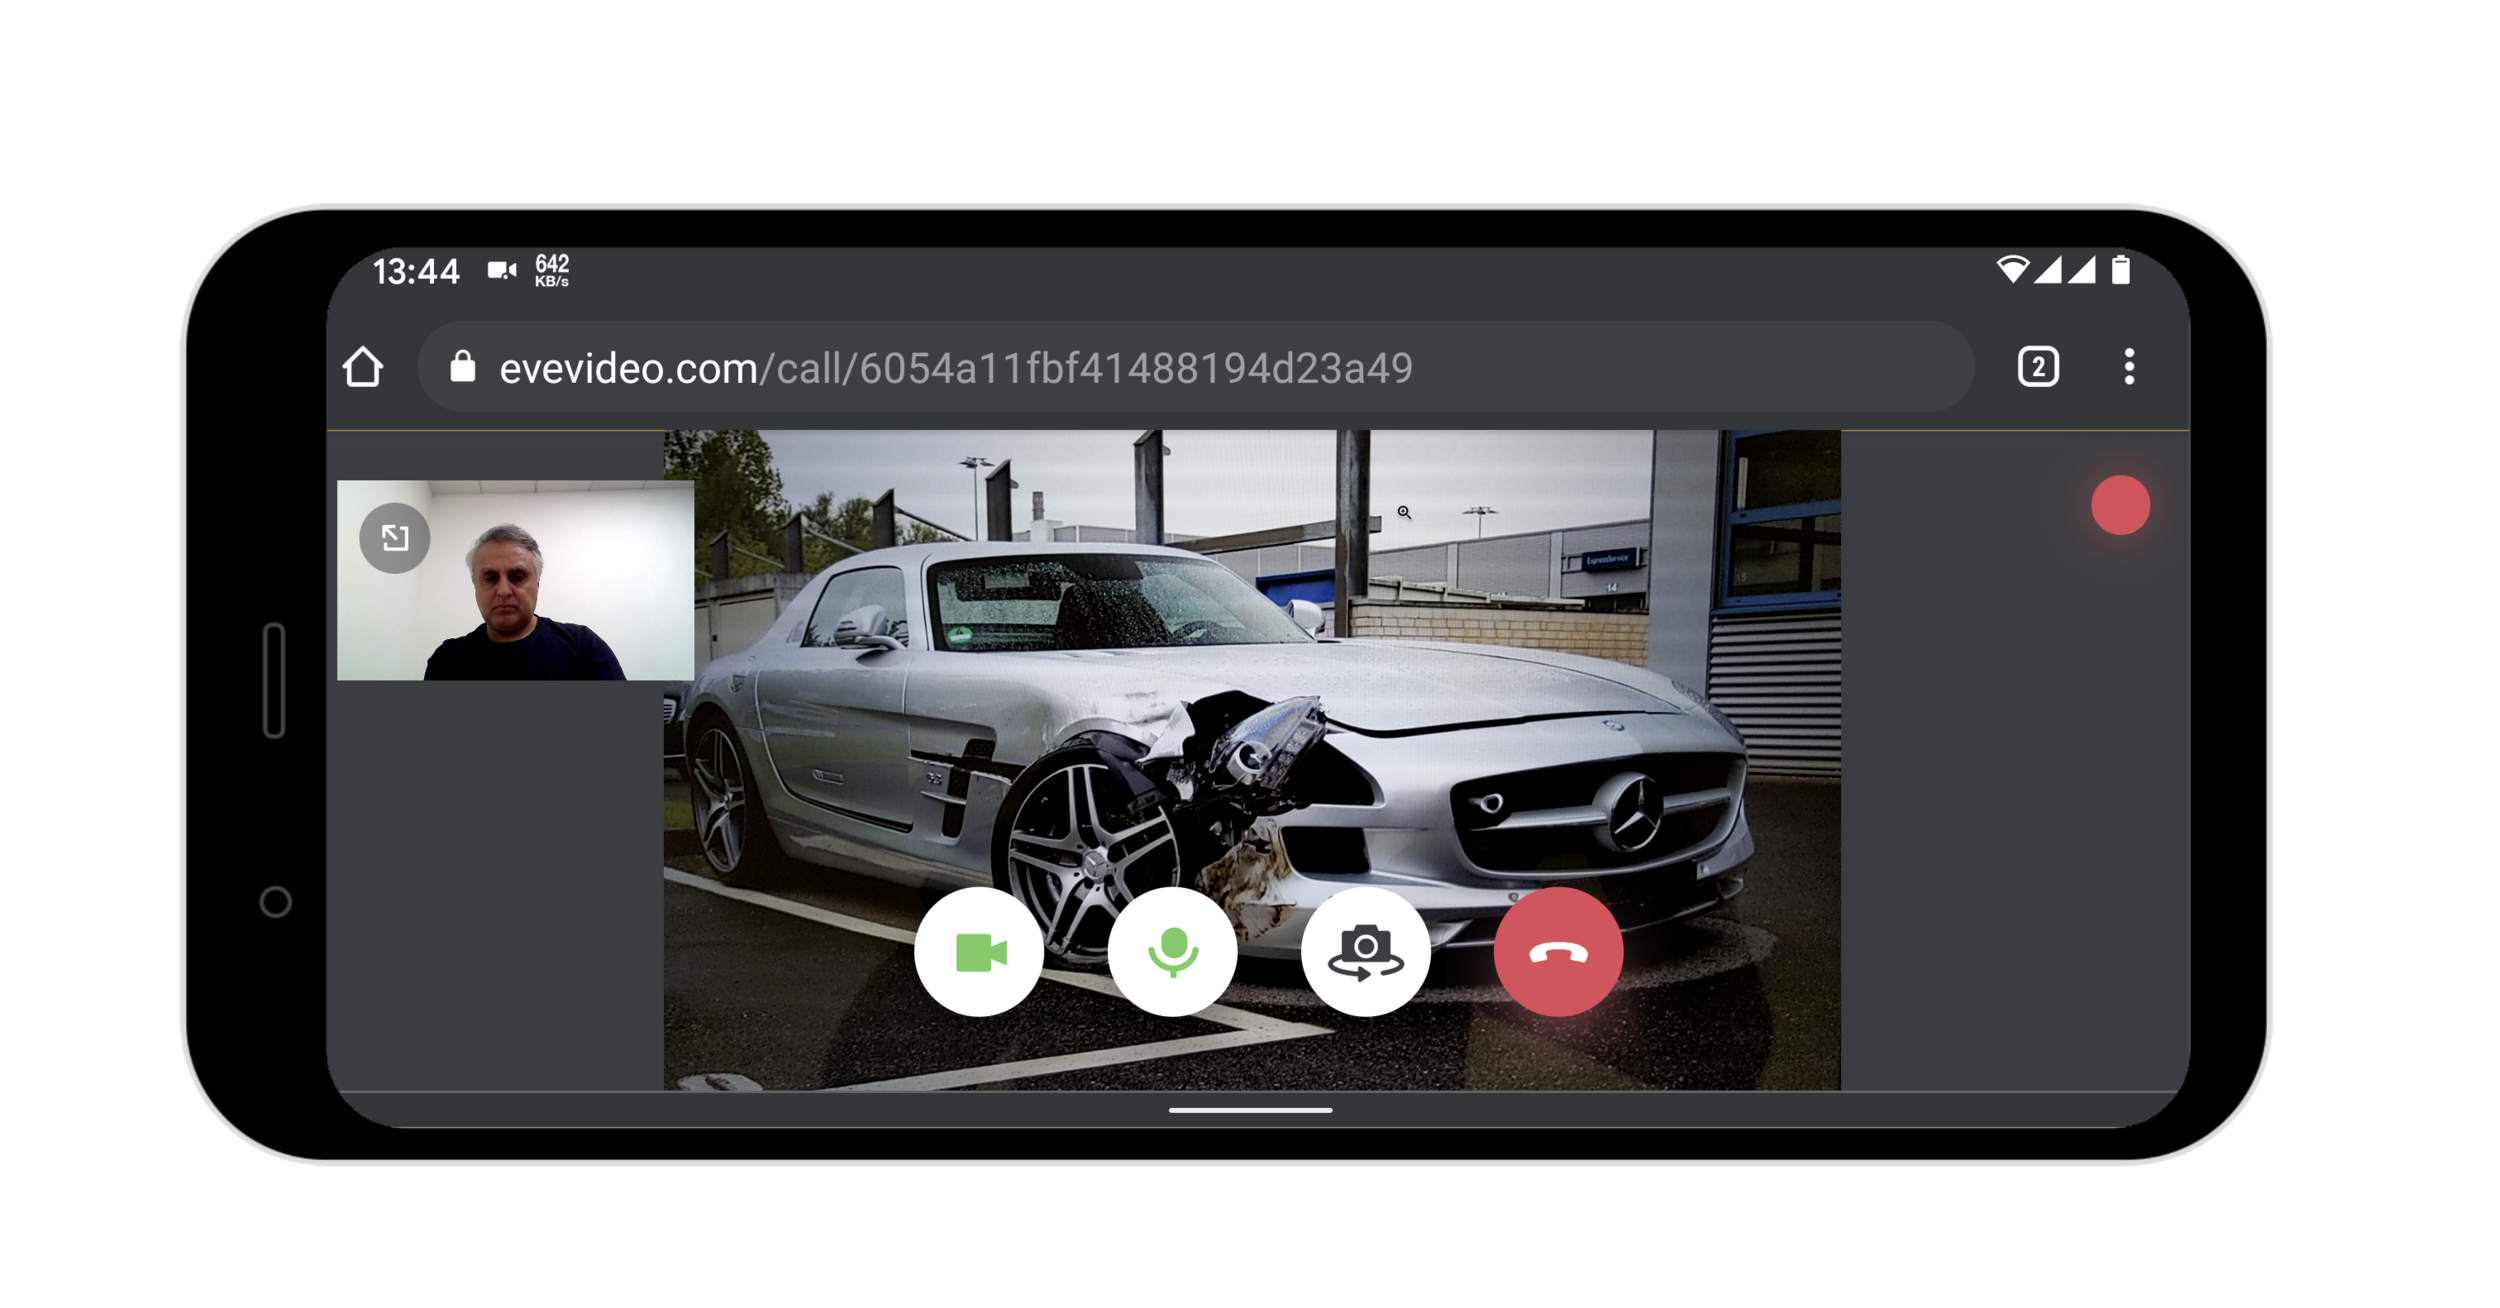
15. Undertake your evidence gathering activity
This is the view that the recipent will have. The sender will have the same view on their desktop or mobile of they’ve initiated the call from there. The video timer will commence as soon as the recipient joins. Both the sender and recipient are able to minimise the senders feed by clicking the icon on the top left hand corner of if. The sender will continue to be recorded irrespective of this however it allows the recipient a full view of what the camera is recording. At the bottom of the screen you both have the options to toggle video & audio on or off. You can switch the recipients camera from front to back and vice versa and an end call button. Note: to ensure switch between portrait and landscape please ensure you have not locked orientation on your phone. When you’ve finished press the end call button.
16. Confirm you want to end the call
If you want to end the call select Yes. If you’ve ended the call by accident and want to go back to it. Select No.
17. View and manage your recording
Once the video and audio have been processed you will be able to change the title of the video to something meaningful. You will also be able to add a unique ID for the video e.g. a claim ID and add unlimited notes.
18. View recording location
If the location permissions were granted by the recipient a location symbol will be displayed with the video details. Clicking on the location symbol will open a google maps window showing the precise location where the video recording was taken.
19. Manage and Share the recording
You can play the video and also scrub back and forth along its timeline. You can copy the link and share it via email, or embed it into a PDF or any other document or add it to any database. The link will always point to the source recording so you will always have a single version of the truth to refer to.


